
Introduction
A beautiful finish transforms a simple piece of wood into a stunning piece of furniture. Finishing not only enhances appearance but also protects the wood, extends its lifespan, and highlights craftsmanship. Understanding different techniques allows you to achieve professional results at home.
Sanding & Surface Preparation
Proper preparation is essential for a smooth, long-lasting finish:
- Progressive Sanding – Start with coarse grit and gradually move to finer grits to remove imperfections.
- Dust Removal – Clean thoroughly between sanding steps to avoid scratches and uneven surfaces.
- Surface Inspection – Check for dents, cracks, or rough edges that may need filling or smoothing.
Attention to detail at this stage sets the foundation for a flawless finish.
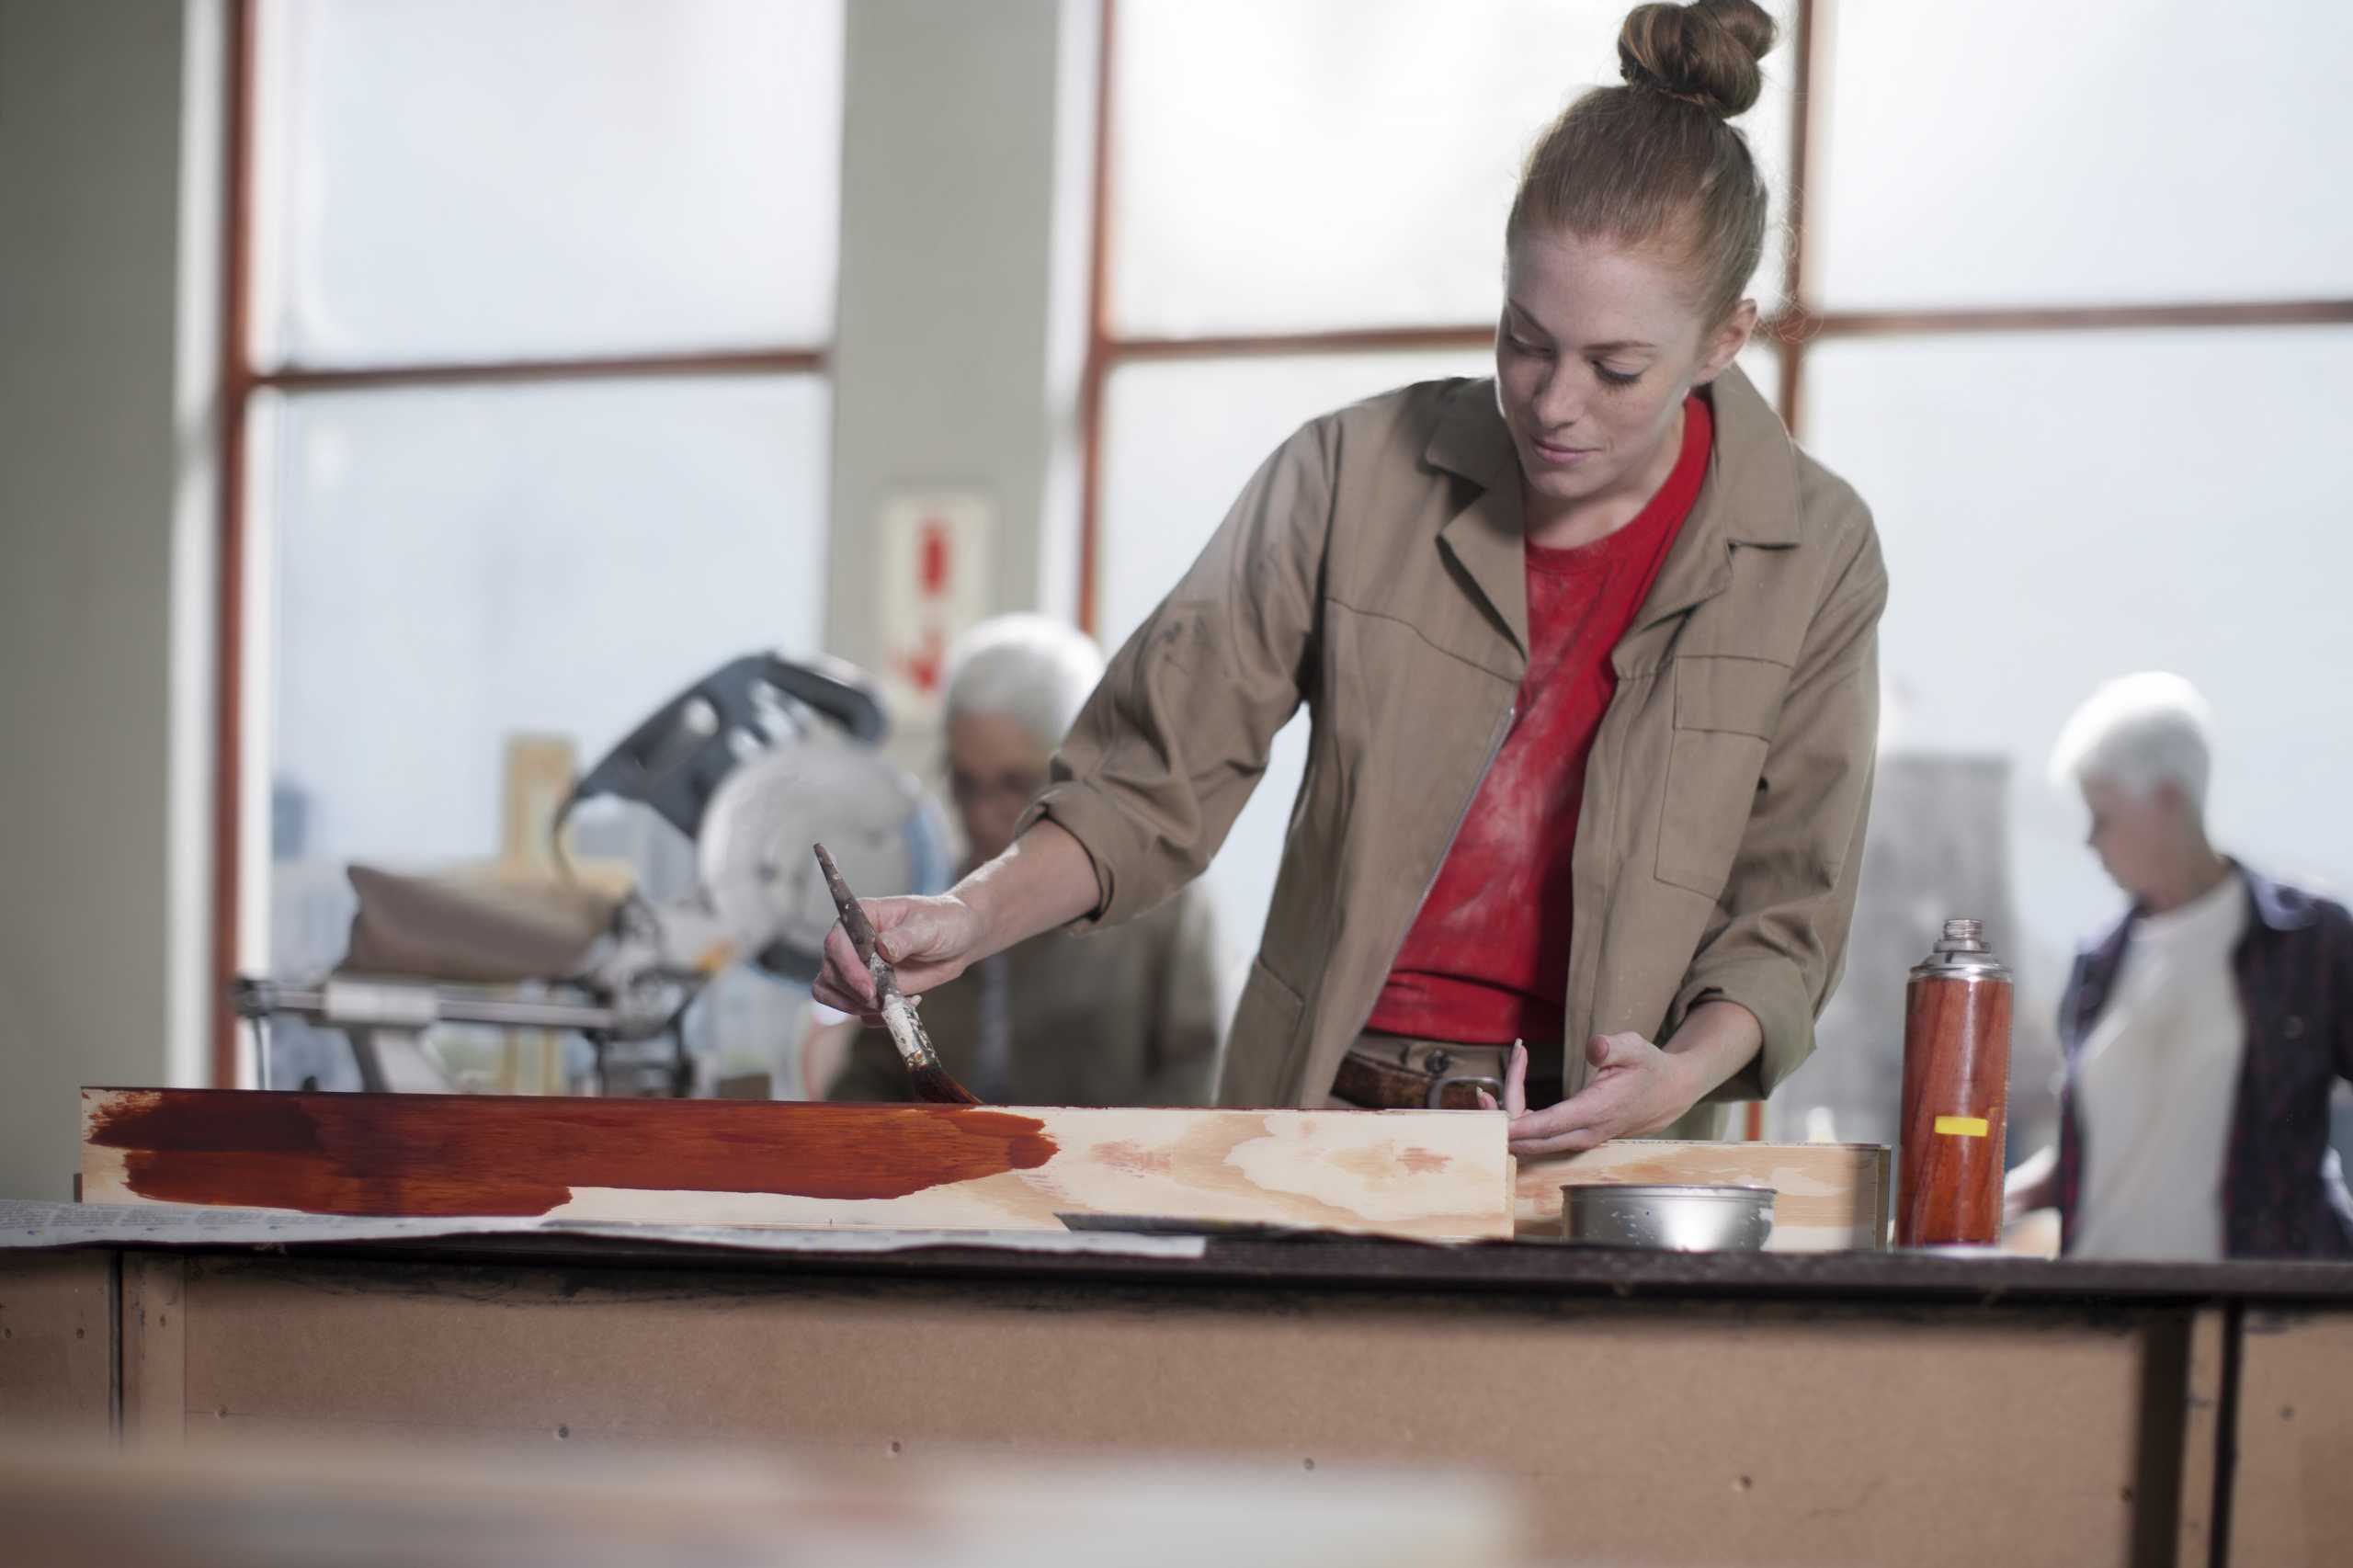
Stains, Paints, and Sealants
Choose finishes that suit your style and protect your furniture:
- Wood Stains – Enhance natural grain and tone, available in light, medium, or dark shades.
- Paints – Add color and personality while covering imperfections or creating modern designs.
- Sealants & Varnishes – Protect against moisture, wear, and UV damage for lasting durability.
Experiment on scrap wood before applying to your final piece to achieve desired results.
Advanced Techniques
Elevate your furniture with creative finishing touches:
- Distressing – Add vintage charm by lightly sanding edges or creating subtle wear patterns.
- Layered Finishes – Combine stains, paints, and glazes for depth and complexity.
- Waxing & Polishing – Smooth the surface, enhance shine, and give a professional touch.
These techniques require patience but dramatically enhance the visual impact of your projects.
Conclusion
Finishing is where your DIY furniture truly comes to life. Careful sanding, thoughtful choice of stain or paint, and attention to detail make every piece unique and visually captivating. Mastering finishing techniques elevates your craft and ensures your creations are both beautiful and long-lasting.